How to Choose the Best Images for Your Website


Imagine a website that’s 100% words. No photos, videos, or other visual elements. It doesn’t sound too exciting.
That’s why it’s so important to find the right visuals for your own website. To help you get started, we’ve put together this detailed guide complete with practical tips, inspiring examples, and quick explanations of the most important terms.
1. What story should your website images tell?
To answer this question, you should know what story you want to tell on your website, and who or what it’s about.
For example, if you’re a communications consultant, you’ll want to sell your knowledge, and your experience. So your story should show your skills and how you help your customers. This means you’ll need to include a headshot and other photos of yourself “in action”—like at seminars, lectures, or working with customers.
Bring your business online with Jimdo.
But if you rent a holiday apartment, you’ll want to tell your guests how comfortable your place is and what great attractions they’ll find in the area. This means photos of the accommodation itself, along with pictures of the lake nearby or the romantic medieval town that’s just 30 minutes away.
Take some time to find your story before you look for images. Because once you know what story you want to tell, the next steps will be easy.
Don’t forget: Your logo tells a story too! Create one for your business today with our Jimdo Logo Creator.
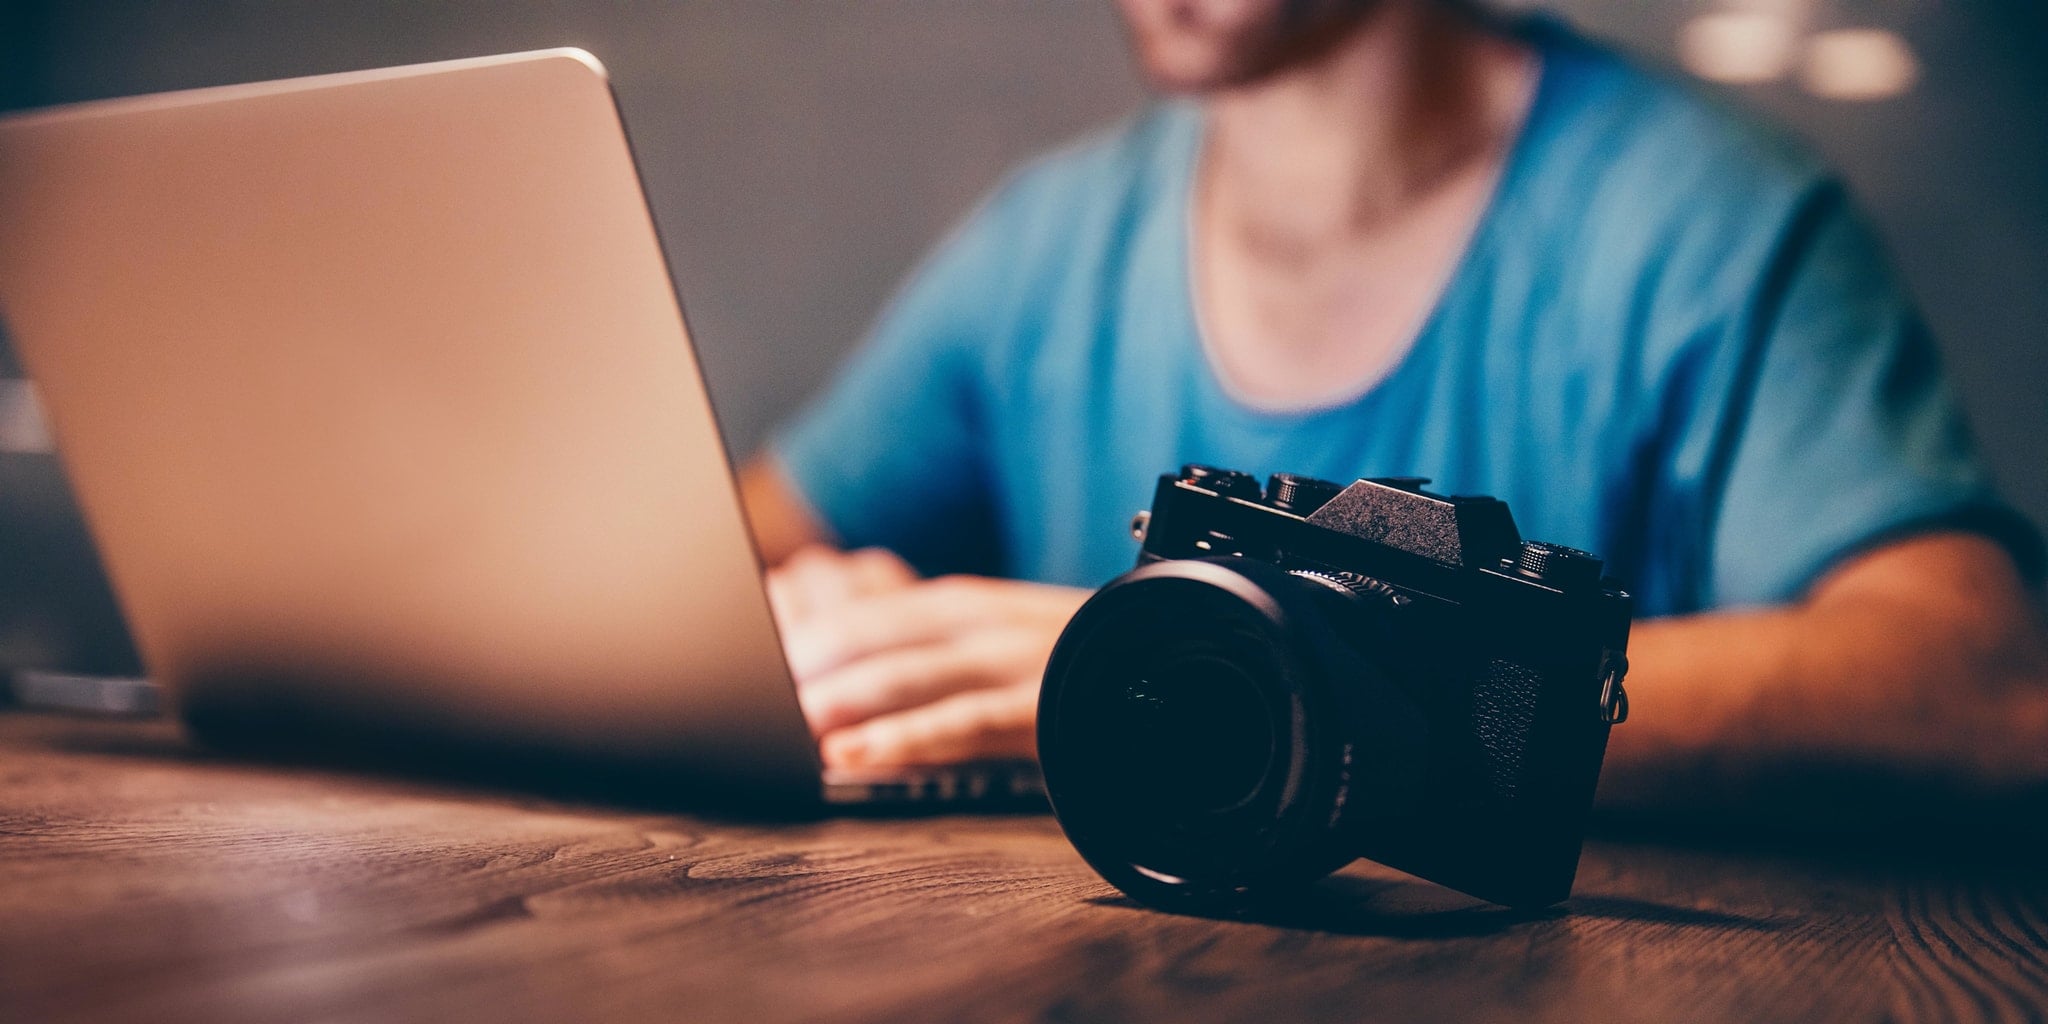
2. Professional, DIY images, or stock photos?
You have three possible ways to get pictures for your website. Each with its own advantages and disadvantages.
Hire a professional photographer
Advantages. A photographer brings the know-how and equipment to take the best possible photos for you. Whether you need portraits, event photography, or product photography, there’s a specialist who can help.
Disadvantages. Hiring a professional is the most expensive option. You might also have different ideas on how your photos should look. This can lead to an expensive back and forth and possibly even a change of photographer.
DIY images
Advantages. These days, anyone can take good quality photos from their smartphone. This saves you money, you won’t be tied to an external service provider, and you can get the photos you want faster.
Disadvantages. Even with technology making photography more accessible than ever, you still need to know a few essentials. Like how to set the correct focus and how you frame your shot. And for really special images, you just can’t beat a professional with the right equipment.
Stock photos
Advantages. There are lots of online databases with royalty-free images you can use for free. If you have a Jimdo website, you’ll find hundreds of free stock photos ready and waiting in your Image Library. It’s easy to get high-quality images for almost every purpose.
Disadvantage. Stock photos can never show you, your workplace, or your products. So they can never completely replace your own photos, although they can be a great addition to them.

3. Be picky about the photos you choose
What makes a good photo? What should you look out for?
Make sure it’s in focus
In general, the person or object in your photo should be in focus. But not everything needs to be sharp, in fact, having less important elements blur into the background can help you emphasize what’s important.
Use harmonious colors and lighting
Whether your photos have bright or muted colors, they should go together to give your site a consistent look. You can always add a filter to help make your images match later. Typically, website photos look better if they all share similar colors and lighting.
Follow the rule of thirds
This technique, based on the “golden ratio,” works by dividing the height and width of a photo into three equal parts. This creates a total of nine sectors in an image. You can use these imaginary lines to align your main subject and give your image a structured look. You can now set this function on almost all modern cameras.

A viewer should be able to spot what’s important at first glance—whether that’s a product, a place, or a person. The essential element doesn’t have to be right in the middle of the shot, but it shouldn’t be hidden on the edges.
Use a high resolution
When it comes to photos, the higher the resolution, the better. This gives you more freedom when editing because you can reduce the size of the image, crop it, or cut out individual elements without losing quality. If the resolution is too low, the image will look pixelated and unprofessional. Learn more about resolution and image sizes in our Guide to Optimizing Website Images.
4. Don’t be afraid to edit your photos
Nowadays there are lots of photo editing tools with countless filters and retouching options. It can be tempting to go over the top. But less is more if you want your photos to look natural and authentic, not artificial.
- Only retouch small flaws and don’t try to give a person or product a completely new look.
- Be sparing with filters and only use them to give your images a uniform look. This is especially useful if you are mixing your own photos with stock images.
- Save images from your camera as RAW files, if you can. This means the camera doesn’t optimize images and saves them in an uncompressed format, giving you more freedom in the editing process. Otherwise, high-resolution JPEG files are also a great option.
5. Position your photos for impact
Now you know what story you want to tell with your images, where to find the right photos, and what to look for. Now it’s time to add them to your website. But where should you put your photos? And what purpose should they serve?
Bring your business online with Jimdo.
Hero image
Let’s start with your hero image. This large image is usually the first thing your visitors see when they land on your website, it sits on your homepage and takes up the full width. It should instantly tell visitors what your site is about and invite them to learn more.
Here’s an example from furniture makers Wood You Love. The team make their tables from solid wood built on steel frames. But when you buy from WYL, you’re not just buying a custom made table. You’re investing in four skilled craftsmen who put their heart and soul into their work. It’s as much about the people and the process as the end result, so that’s why you meet their team first on their homepage.

Product photos
Great product photos are key to selling online. Your product should be clearly visible in every photo and it’s best to include several images, showing your product from different angles and “in-action.” For example, customers are much more likely to buy a t-shirt that they can see somewhere wearing, rather than one that’s laid out on a white surface.
For more practical tips and tricks to make your products stand out, read our article on How to Improve Your Product Photography.
Image galleries
Galleries are great for giving your visitors an overview. To come back to our holiday apartment example: an image gallery is the perfect place to give visitors a feel for all the attractions in the area.
Make sure all the images in your gallery look consistent. If the quality and color scheme of the individual images differ too much, your gallery will lose its impact.
Images as design elements
An image is not always the center of attention. Sometimes it’s just there to lighten up a page or to convey a certain mood.
But even if a photo isn’t the most important element on a page, it will still draw your visitors’ eye. So make sure it matches the color, resolution, and style of your other images. In this context, it pays to have high-resolution photos because you can crop them easily to fit your design—whether square, portrait, or landscape. There are more ideas for using images in our tutorial on How to Customize Your Website.
Images as a website background
An image can also act as a canvas for your website content and help set the tone for your site.
6. Optimize your images
You have now found the right photos and you’ve added them to your website. All that’s left is to optimize your images for accessibility and SEO.
For example, make sure that your images have alt text. These are short texts that describe what’s in an image. They help visitors who are visually impaired or using a screen reader to understand what’s on your site, and they tell Google more about your site. This is because Google doesn’t just read the headings and body texts on your website, but also the alt texts, making them a great place to use your keywords.
Learn more in our article on How to Optimize Your Images for Better Web Design and SEO.
Now you have all the right photos, what about your logo? This is another important graphic element you should have on your website. Find out more about what makes a good logo and create your own now with the Jimdo Logo Creator!
Bring your business online with Jimdo.
Build a strong business with Jimdo.
Create a website and get found, get booked, get paid – all in one place.
🚀 Ready to take your business online?
No credit card needed. Online in minutes.